Source: MarkTechPost
Model Context Protocol makes it incredibly easy to integrate powerful tools directly into modern IDEs like Cursor, dramatically boosting productivity. With just a few simple steps we can allow Cursor to access a Figma design and use its code generation capabilities to design web pages within minutes. In this hands-on tutorial, we’ll walk you through the process of setting up this integration and building a simple login page from a Figma file using Cursor.
Step 1: Setting up the environment
Figma API
Firstly, we would need a Figma API for this tutorial.
- Log in to your Figma account
- Go to Settings > Security > Generate new token
- Enter a name for the token and make sure you have read permissions on File content and Dev resources, then click on generate token.

- Copy and keep the token for future use.
Node.js Installation
We’ll be using npx to run the Figma MCP server, and for that, Node.js is required.
- Download the latest version of Node.js from nodejs.org
- Run the installer.
- Leave all settings as default and complete the installation.
After installation, verify everything worked by running these commands in your terminal:
node -v # should return the Node.js version npm -v # should return the npm version npx -v # should return the npx versionCursor IDE Installation
Lastly, download the Cursor IDE from cursor.com.
- It’s free to download and comes with a 14-day free trial.
- Cursor is built specifically for AI-assisted development and will help us connect to the Figma MCP server and generate code effortlessly.
Step 2: Configuring MCP Server on Cursor
Once you’ve installed and launched Cursor IDE, follow these steps to connect your Figma MCP server:
- Navigate to:
File > Preferences > Cursor Settings > MCP - Click on “Add a new global MCP server”.
- This will open a mcp.json configuration file. Paste the following code into it:
{ "mcpServers": { "Framelink Figma MCP": { "command": "cmd", "args": ["https://www.marktechpost.com/c", "npx", "-y", "figma-developer-mcp", "--figma-api-key=YOUR-KEY", "--stdio"] } } }4. Replace YOUR-KEY with the Figma API token you generated earlier.
5. Save the file. Once saved, you should see “Framelink Figma MCP” listed under available MCP servers.

You can now close the settings pane and start using this server by entering relevant prompts in Cursor’s chat interface — it will connect to your Figma file and generate code accordingly.
Step 3: Creating the login page using Cursor AI
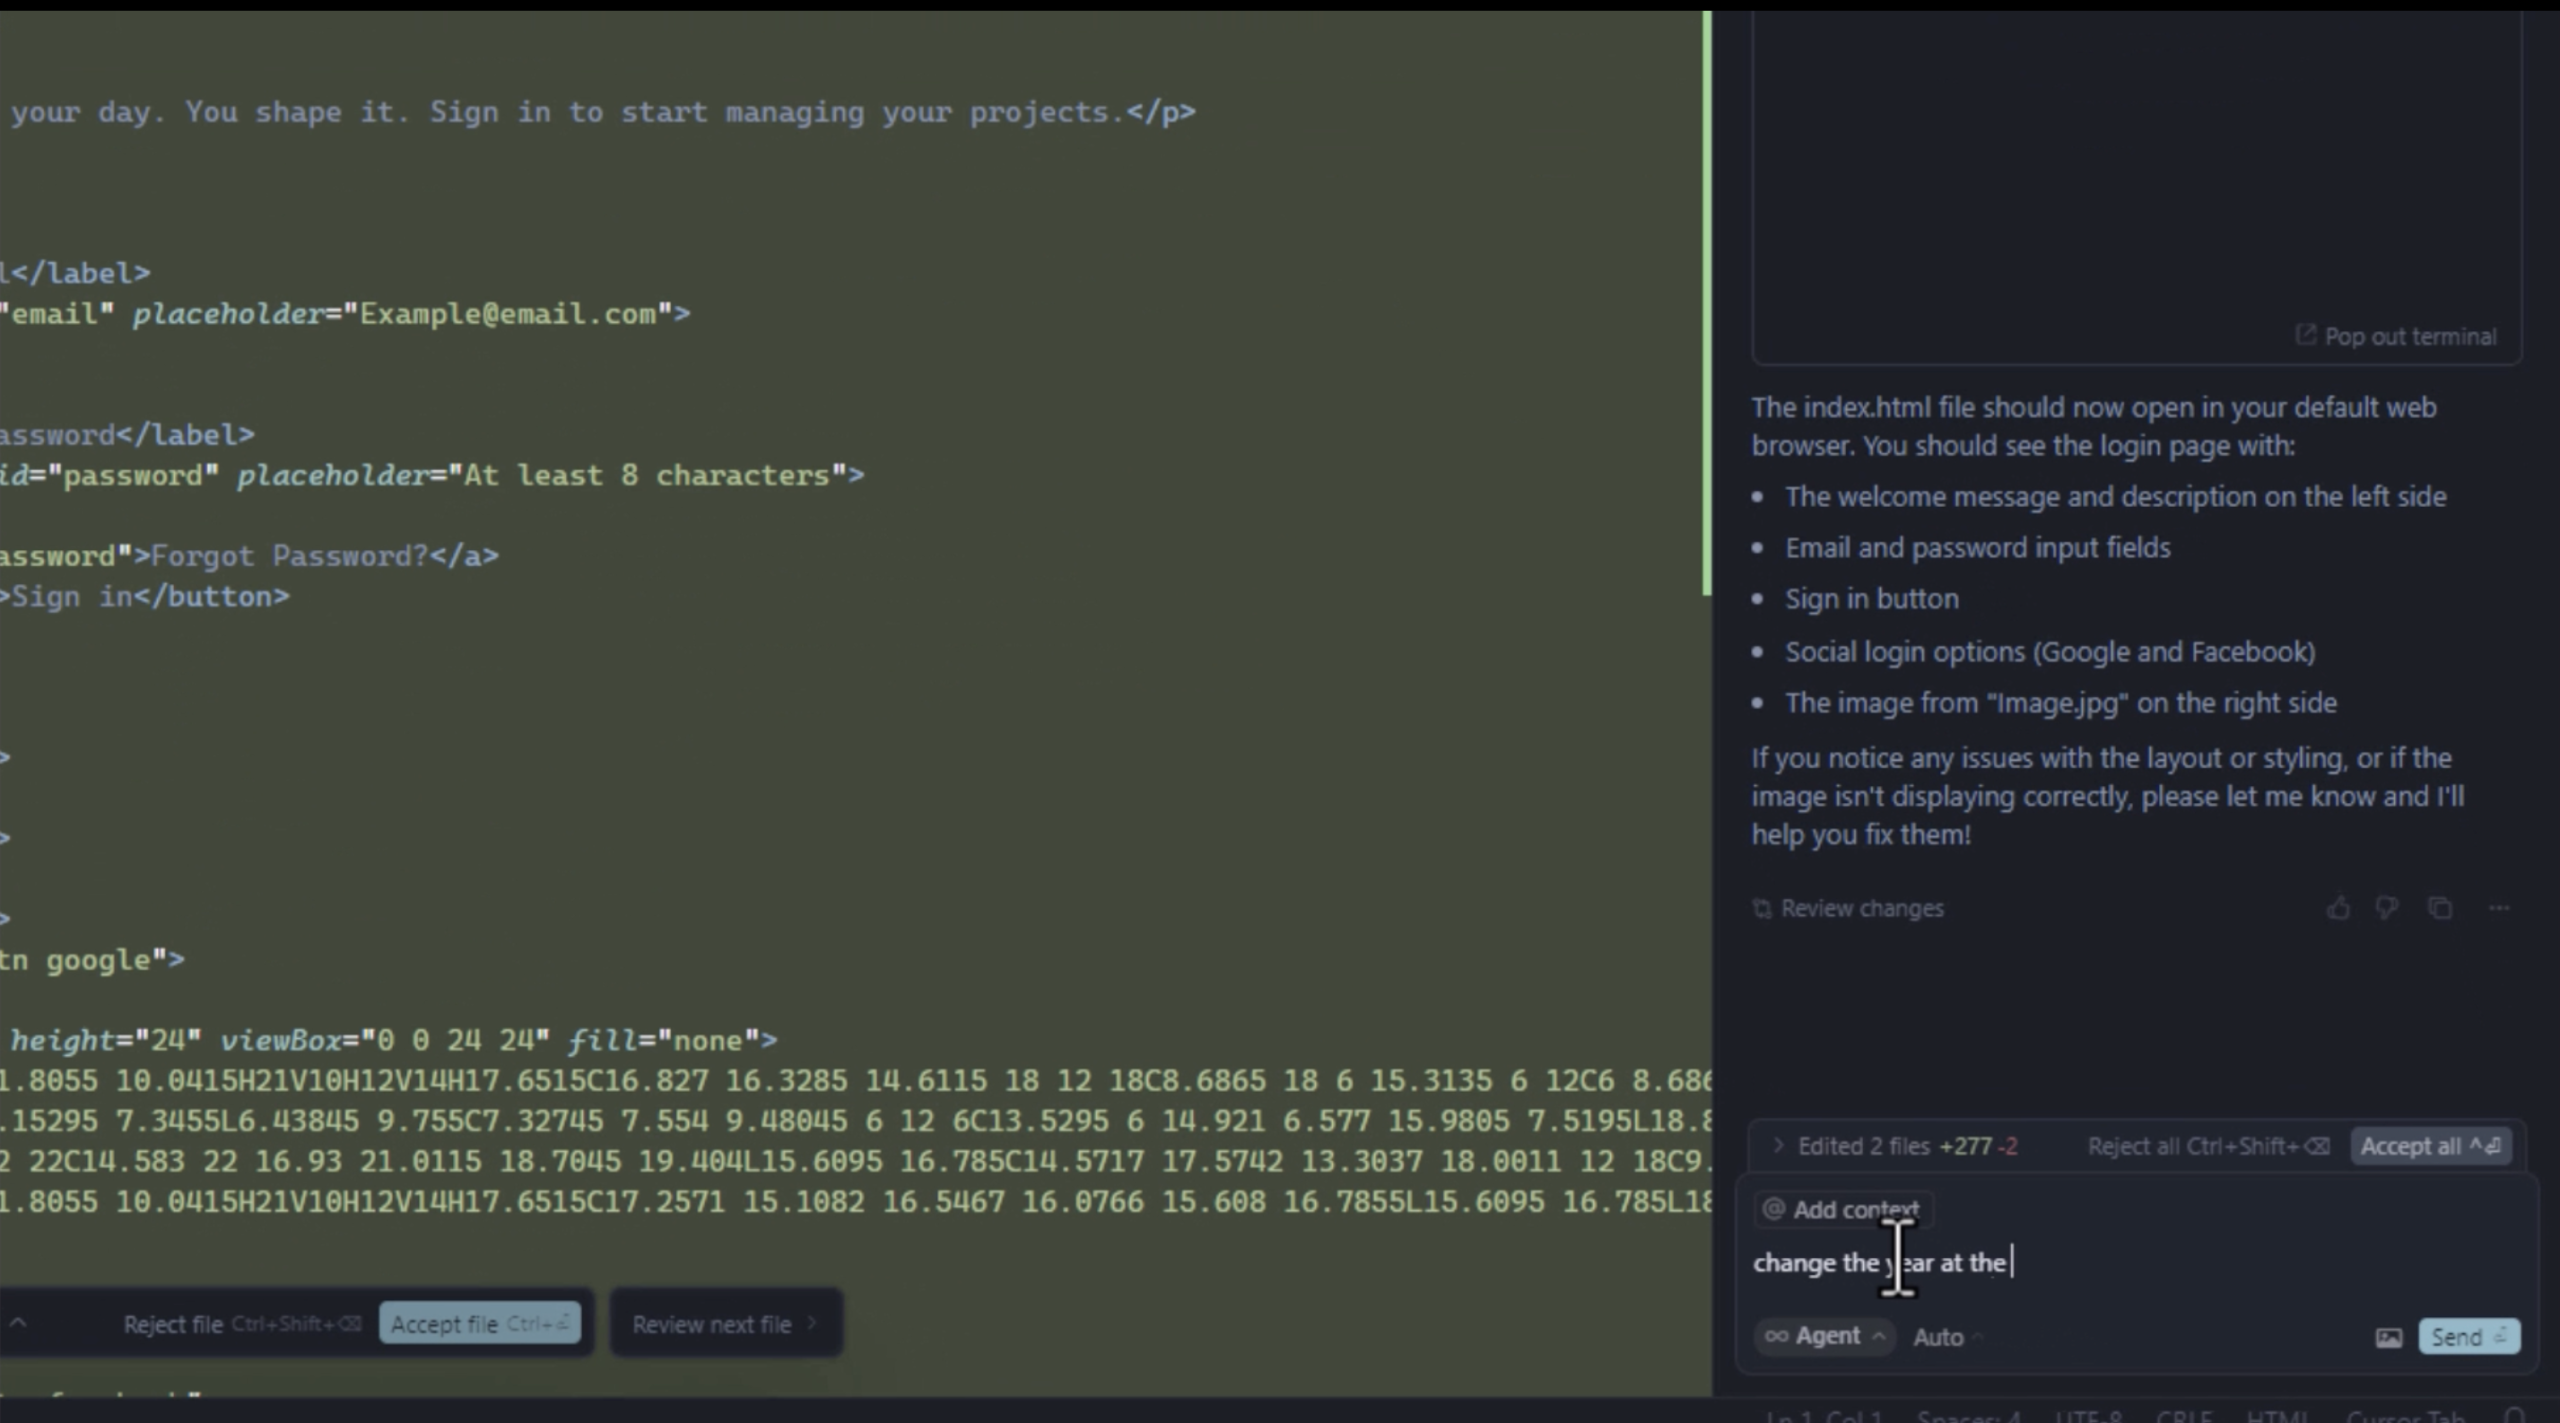
For this tutorial, I used the following Figma template and simply asked Cursor’s chat agent to generate both an index.html and a style.css file. I also requested it to replace one of the images in the Figma design with a custom image of my choice.

Once the initial code was generated, I asked the agent to make a few changes — such as updating the footer text and year, and adding some animation effects. Cursor handled these edits seamlessly, updating the code automatically.

For your own use case, you can use any Figma design — just copy the frame URL and provide it to the chat agent within Cursor. To get the link:
- Open your Figma design.
- Right-click on the frame or element you want to replicate.
- Select Copy/Paste As > Copy Link to Selection
Paste this link into Cursor’s chat, and the agent will handle the rest — generating the HTML/CSS based on your selected frame.


Arham Islam
I am a Civil Engineering Graduate (2022) from Jamia Millia Islamia, New Delhi, and I have a keen interest in Data Science, especially Neural Networks and their application in various areas.